Lamination process
How it works: First, a plastic film with adhesive is pressed onto paper using heat. As a result, the two layers stick together permanently. Understanding the packaging printing process is crucial, as this is one of the most popular ways to finish printed items.
Key benefits: After lamination, the surface becomes smoother and shinier. Not only does it look better, but it also lasts longer. Plus, the plastic layer protects against water, dirt, and scratches.
Where it’s used: For example, book covers, posters, and food packaging.
Film options: You can choose from glossy, matte, pearly, soft-touch, or shiny holographic films.
Machine needed: A laminator.
Best for: Regular paper or stickers.
Important note: However, lamination hides rough textures. So if you use special paper like kraft paper, try varnishing instead.
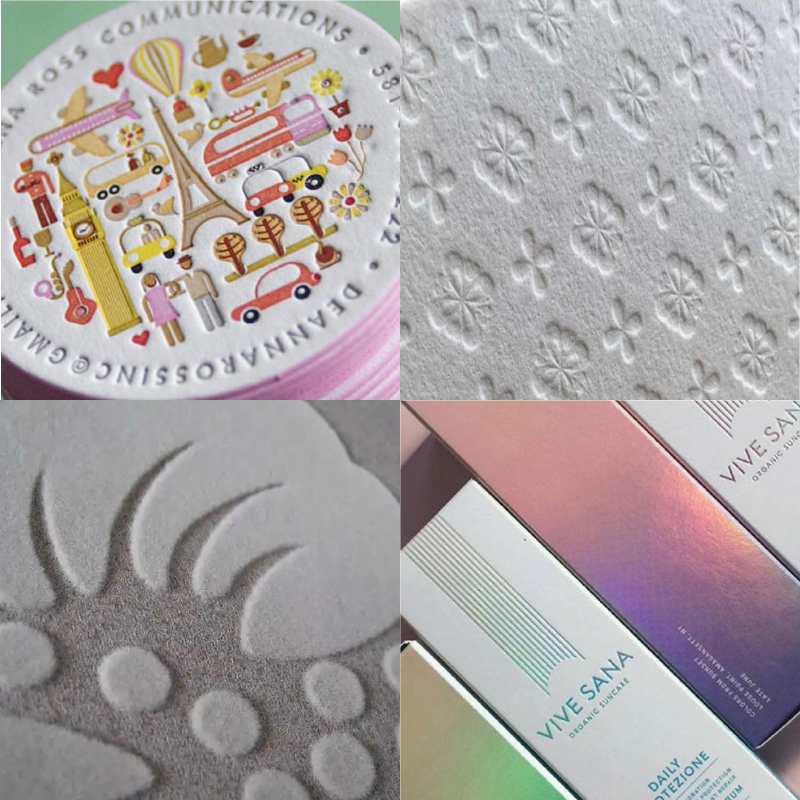
Spot UV packaging process
How it works: First, a thick ink is printed on certain spots. Then, UV light dries it fast, creating a raised, shiny effect.
Why use it: Because it makes parts of the design stand out with a 3D feel.
Great for: Things like business cards, gift boxes, and fancy book covers.
Types: Glossy or matte. Can cover the whole page or just small areas.
Machine needed: A UV dryer.
Works best on: Matte surfaces or rough paper.
Tip: Remember, foil stamping won’t stick well to Spot UV areas..
Varnishing packaging process
How it works: Simply add a clear liquid coating to protect and shine the print.
Why it’s good: Besides looking nice, it stops water and oil stains.
Common uses: Such as magazines, postcards, and shopping bags.
Two main types:
- Water-based: Although eco-friendly, it scratches easily.
- UV-cured: On the other hand, this type is tougher and shinier.
How to apply: Spray or print it on.
Best for: Most paper products.
Calendering
How it works: After water-based varnishing, hot rollers press the print to make it extra glossy.
The upside: It looks like a mirror!
The downside: Unfortunately, it’s not waterproof.
Perfect for: High-end books and wedding invitations.
Remember: Only works with glossy finishes, not matte.
Reverse UV packaging process
How it works: First, two special coatings react under UV light. This creates a cool mix of rough and shiny spots.
Best for: Luxury items like perfume boxes or wine labels.
Works on: Very smooth materials like metallic paper.
Warning: Don’t try foil stamping on top—it won’t stick!
Frosting/Sandpaper Effect
How it works: A special base coat + UV top coat react to form a gritty, matte texture. Often used with丝印 (screen printing).
Features: Elegant, tactile, and eco-friendly (low VOC).
Applications: Cards, premium packaging.
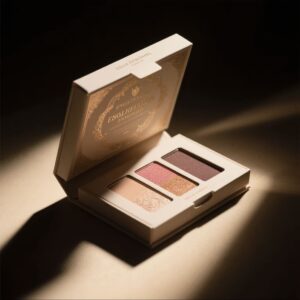
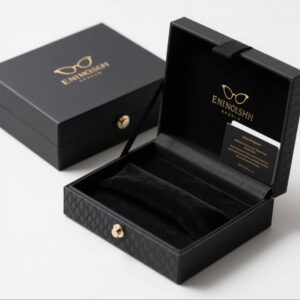
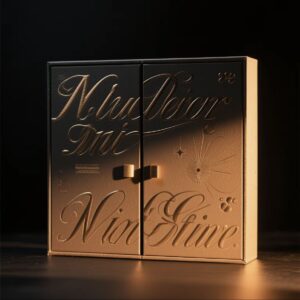
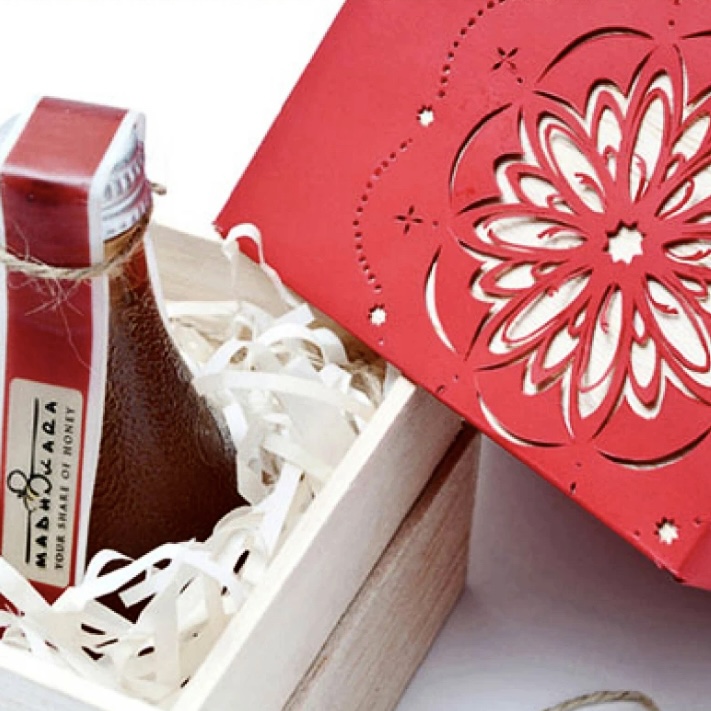
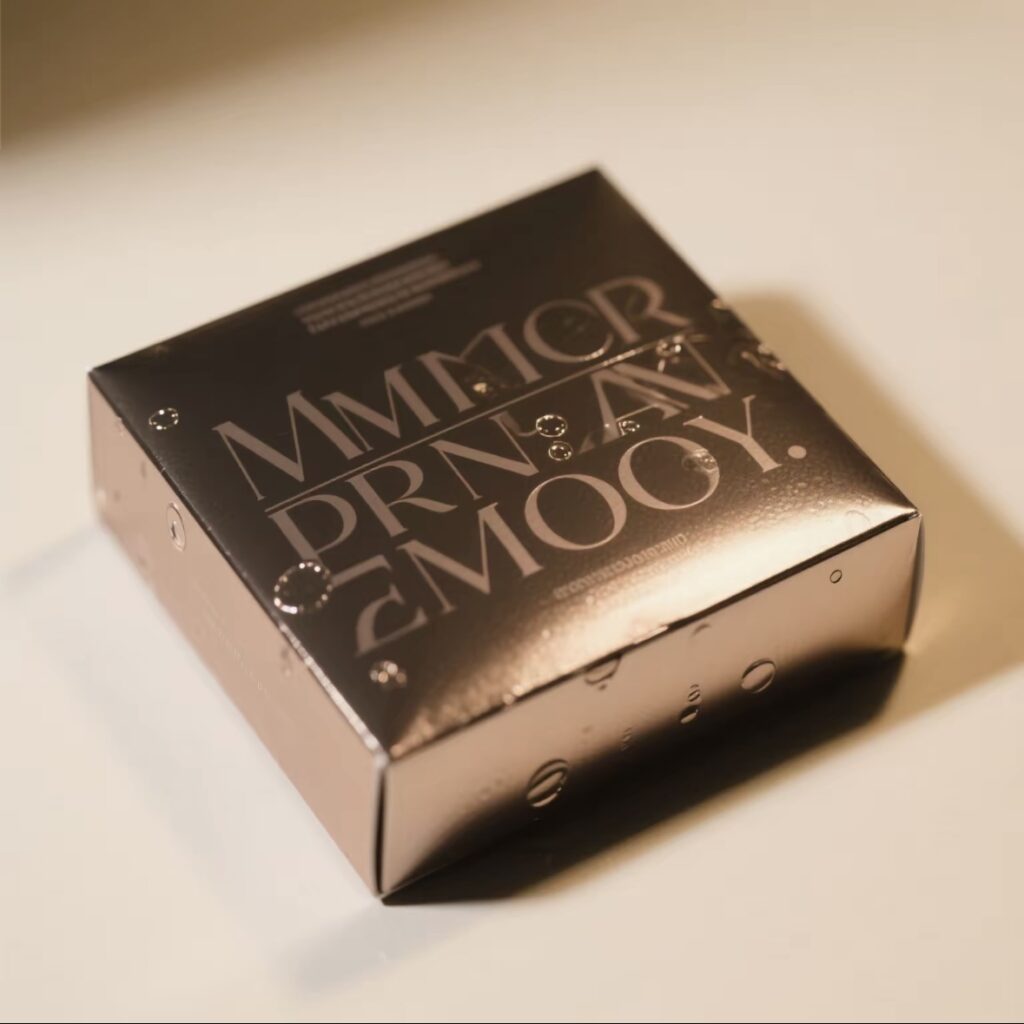
Foil Stamping
Principle: A heated die presses metallic foil onto the substrate, transferring shiny designs (gold/silver/etc.).
Features: Adds luxury and eye-catching metallic effects.
Applications: Covers, invitations, logos.
Foil Colors: Gold, silver, holographic, etc.
Types: Flat, 3D, multi-layer stamping.
Note: Avoid large areas; use “metallic printing” for bigger designs.
Embossing/Debossing
How it works: Male/female molds press the paper to create raised (embossed) or sunken (debossed) patterns.
Features: Adds tactile elegance.
Applications: Business cards, packaging, luxury invitations.
Die-Cutting packaging process
Principle: Custom-shaped blades cut printed materials into unique outlines (hearts, circles, etc.).
Features: Boosts creativity and functionality.
Applications: Labels, puzzles, packaging.
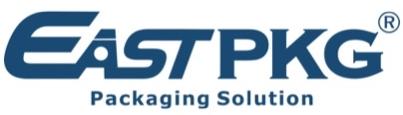
Laser Cutting
Principle: A laser beam precisely cuts/engraves intricate patterns.
Features: No molds needed—ideal for delicate designs.
Applications: Invitations, packaging, art pieces.
Finally, the best packaging printing process tells your product’s story before it’s even opened! A little extra effort in choosing finishes makes a big difference.
Look at successful products in your category – what finishes do they use? This can give you great ideas!